


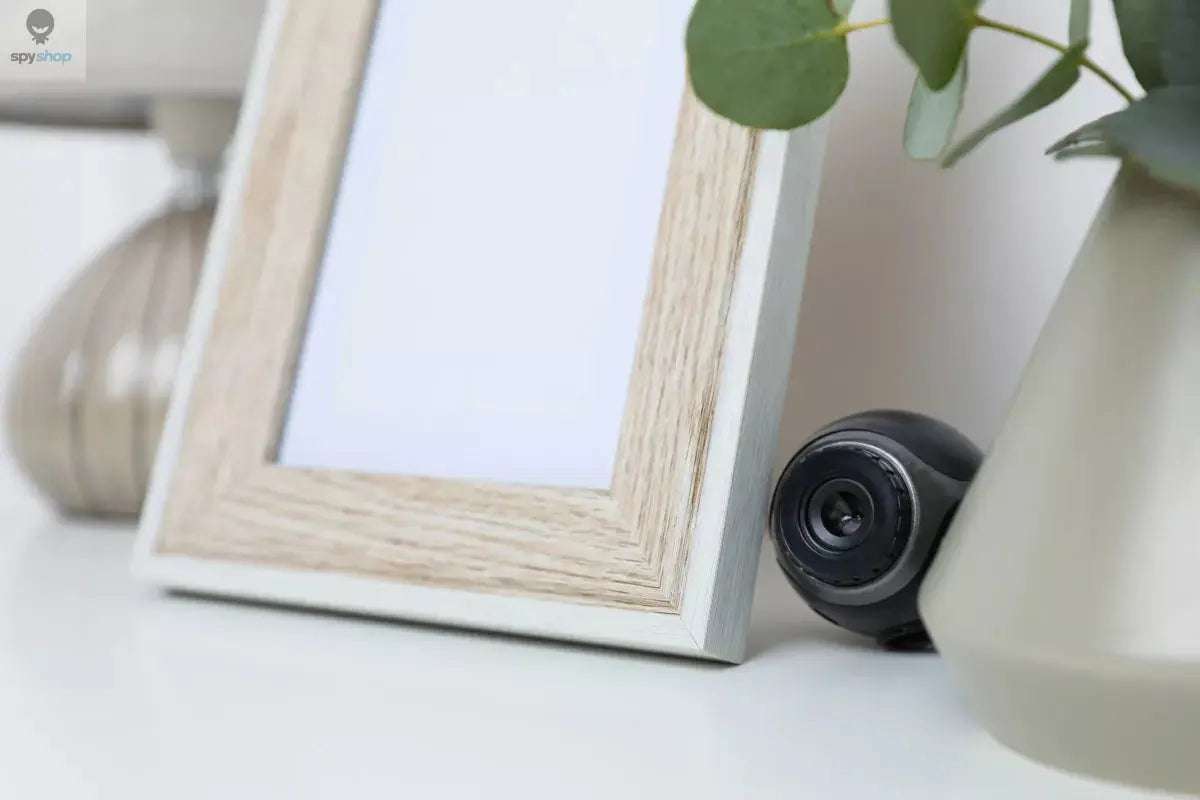
Home Security Camera Setup: Placement and Recording Tests
A home security camera setup should be tested from the saved footage, not just the live preview. This guide covers placement and commissioning after you have selected a suitable compact or hidden camera. For help choosing features first, read our home camera features and privacy guide.

1. Define the area you need to see
Choose a specific area, such as your own entrance or a storage doorway. Sketch the intended view and note what should stay outside it. Check applicable recording requirements and any permissions before installation. Avoid intimate spaces and unnecessary coverage of other people or neighbouring property.
Decide whether the task needs a broad overview or useful detail at a particular point. These may require different positions; the smallest camera is not automatically the best fit.
2. Position the lens without blocking it
Start with a temporary position that lets you inspect the image. Check that furniture, a housing or a decorative cover does not obstruct the lens. Do not improvise a disguise that blocks ventilation, strains a cable or alters a safety device. Keep smoke alarms and other safety equipment unmodified.
Look for reflections from windows, mirrors or glossy surfaces. Check the view with doors open and closed and with ordinary movement through the room. A placement that looks clear while the room is empty may have an important blind spot in daily use.
3. Confirm power and storage
- Use the power arrangement specified for the camera.
- Check that cables are secure and do not create a trip or pinch hazard.
- Prepare compatible storage according to the manufacturer's instructions.
- Confirm the recording mode, date and time, and overwrite setting.
- Disable audio if the task does not require it.
4. Test during the day and at night
With an agreed participant, record a short sequence at the actual distance and walking speed. Repeat under the lighting expected at night. Review the saved files for usable detail, glare, motion blur and missing areas. Night illumination, if supported, can reflect off nearby objects or glass; test the final mounting position rather than assuming the feature will solve every low-light problem.
5. Test the failure conditions that matter
If the camera supports network access, disconnect the internet and check which local functions continue. Restart the unit and confirm it resumes the expected mode. Test file retrieval before storage is full, and verify whether old footage is overwritten when it fills. For motion recording, check whether the clip includes the part of the event you need.
6. Record the settings and review them later
Keep a simple commissioning note: position, recording mode, storage method, power arrangement and test date. Limit viewing access and set a review and deletion routine. Repeat the checks after moving furniture, changing the router, replacing storage or updating the camera.

Written by PRIVATE D.O.O. Pecek


