

Voice Recorder Audio Quality: Microphones and Placement
Voice recorder audio quality starts before you press record. Microphone placement, speaker distance and the room can matter more than a larger memory card or a higher quality setting. The aim is understandable speech captured reliably in the environment where the recorder will be used.
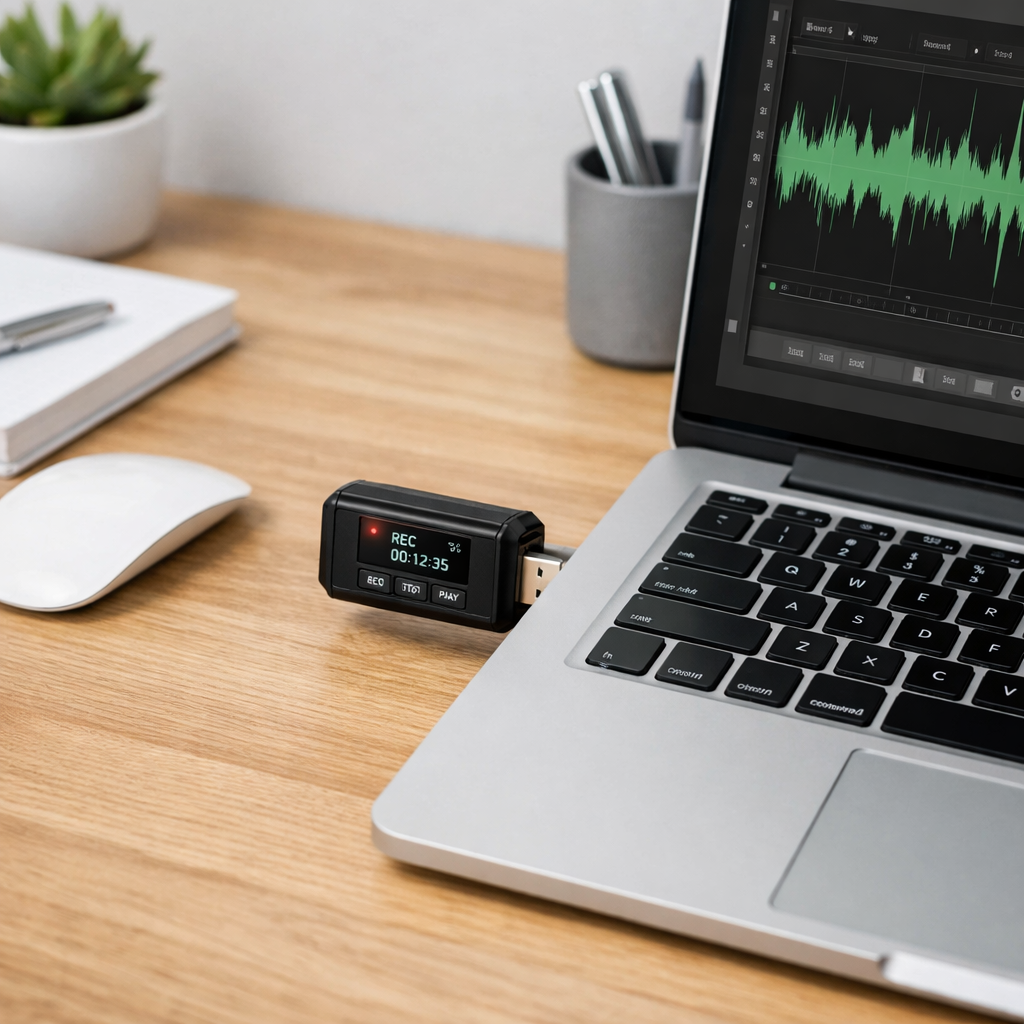
Bring the microphone closer to the speech
Start with a stable position near the speakers, without handling noise or an obstructed microphone opening. A recorder in a pocket or bag may capture rustling and muffled sound. Raising the input level can make background noise louder as well as speech; it does not replace suitable placement.
For an interview, test with the participants in their actual seats. In a meeting, check the quietest or most distant speaker rather than only the person closest to the device. If an external microphone is needed, confirm the recorder's connector and microphone compatibility before buying.
Listen to the room
Fans, traffic, air conditioning and hard reflective surfaces can make words harder to follow. Where practical, choose a quieter space and move the recorder away from vibration or table contact. Test whether a different position improves speech before applying processing or buying a higher-specification device.
Set a level that avoids overload
Where recording-level controls and meters are available, test the loudest speech you expect and leave headroom. Listen for distortion, not just low volume. Audacity's microphone level guidance explains that an excessively high recording level can cause clipping. Lowering playback volume afterwards does not restore the lost detail.
Test continuous and voice-activated modes separately
Voice activation may reduce silent recordings, but trigger sensitivity and the delay before recording matter. Check a quiet sentence after a pause and confirm that its opening is present in the saved file. Use continuous recording when an uninterrupted timeline is necessary, provided the device has adequate power and storage.
Choose a format after testing the capture
File settings affect size and how audio is encoded. They cannot recover speech masked by noise or missing from the recording. Mono may suit one microphone and a speech-focused workflow; stereo is useful only when its captured information serves the task. Compare actual samples instead of treating a format label as a guarantee of clarity.
For file-size calculations and recording-hour estimates, see Voice Recorder Storage: Bitrates, File Sizes and Hours.
A repeatable listening test
- Record normal and quiet speech from the intended positions.
- Include a pause, a louder phrase and ordinary background noise.
- Transfer the file through the normal retrieval workflow.
- Listen with headphones and check whether words are understandable without guessing.
- Change one setting or position at a time and compare again.
Clear audio helps review and transcription. It does not by itself establish permission to record, authenticity or legal admissibility. Keep the original file when it matters and check the requirements of the intended use separately.


